Setup Objects
Choose Objects
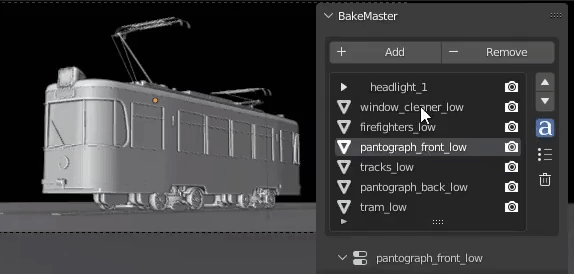
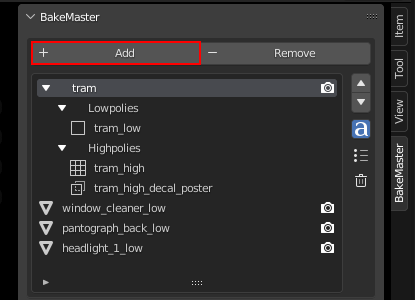
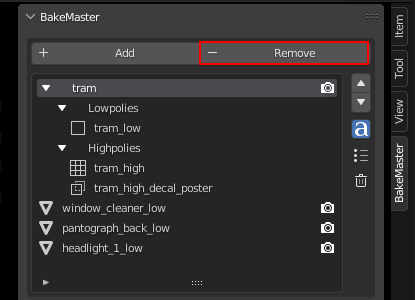
To start settings up maps (image textures) for the mesh objects you want to bake, add these objects to the Table of Objects. Do it by pressing the Add button on the top:

Add Highpolies and Cages too
If you have highpolies or cages beside lowpoly models, add them to the Table too.
Quick selection
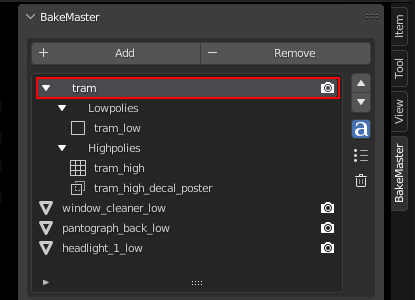
When you select an object in the table, it’ll be quickly selected in the scene to inform you what’s being edited.
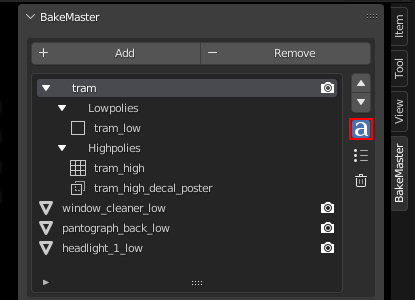
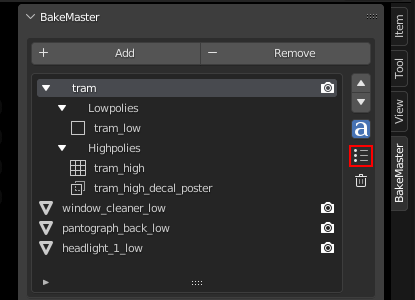
Name Matching
ɑ button (Containers will form):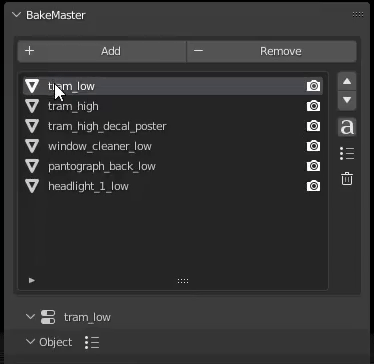
Naming Conventions
Lowpoly |
Highpoly |
Cage |
Decal |
|
Default suffix |
|
|
|
|
Lowpoly name example |
Gets matched to |
|
tram_hightram_cagetram_high_decal |
|
Headlight_high_1Headlight_cage_1 |
|
Headlight-back_high_55Headlight-back_cage_55 |
|
Won’t get matched |
Caution
_ (underscores) in the Object name.Additional Controls
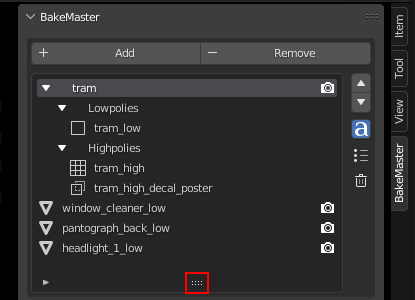
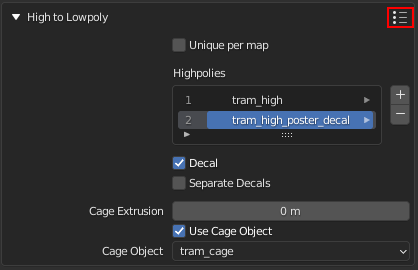
The Table of Objects provides additional controls for the Objects in it:
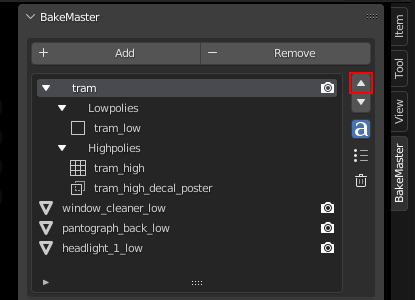
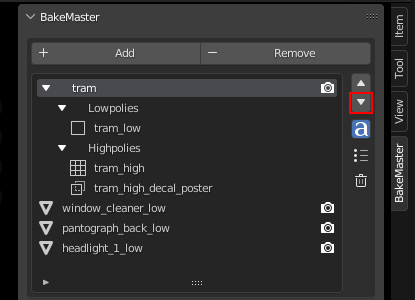


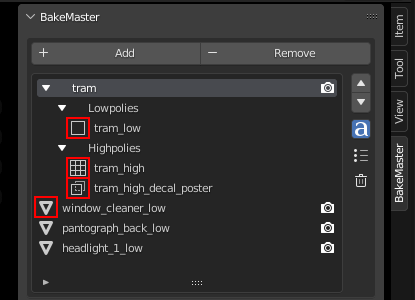
Object settings
Select the object in the Table of Objects to configure its settings.
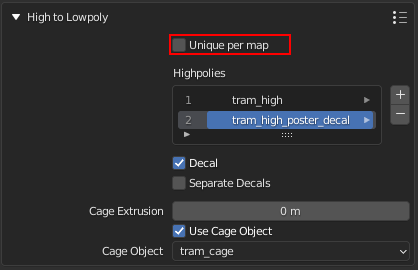
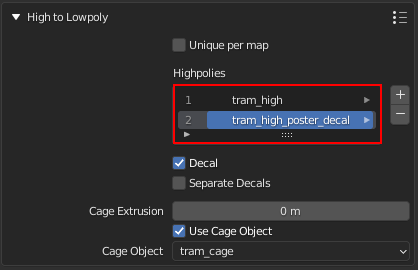
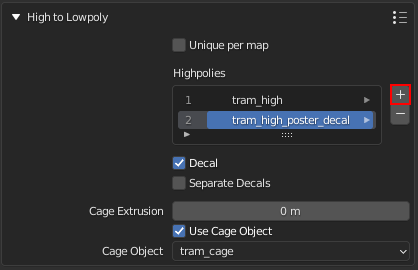
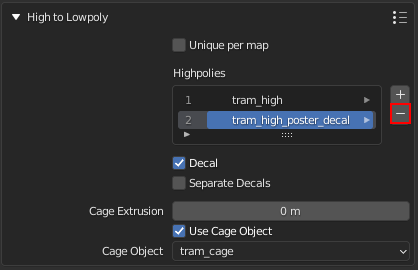
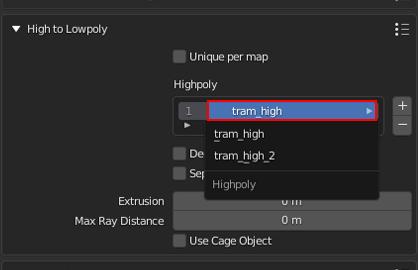
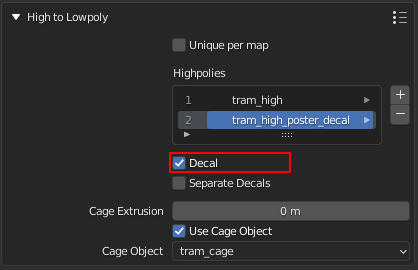
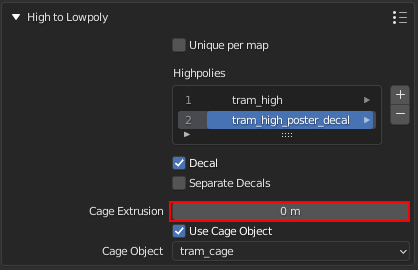
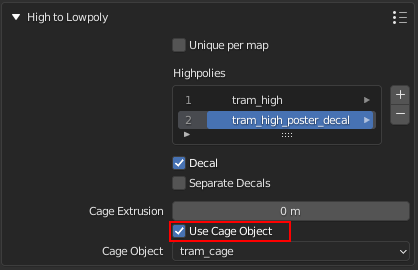
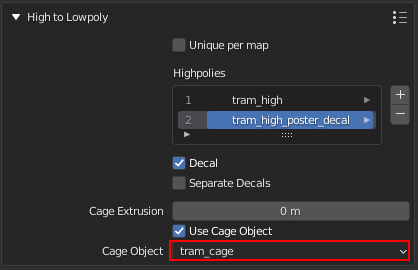
High to Lowpoly
Mind this section if you plan to bake from high to lowpoly meshes.

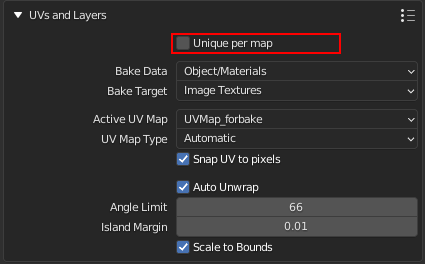
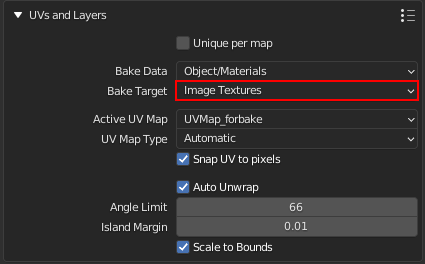
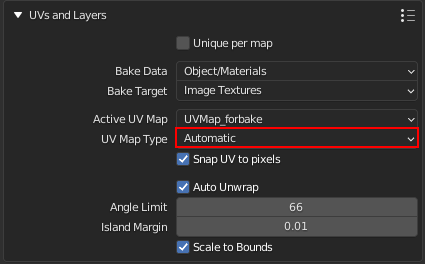
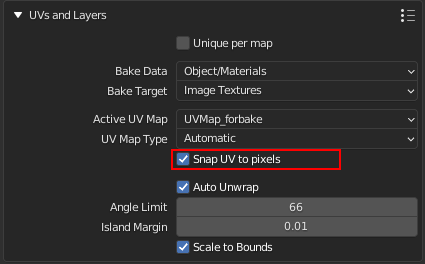
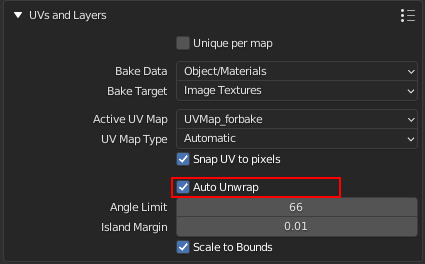
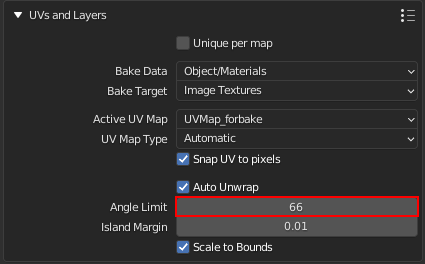
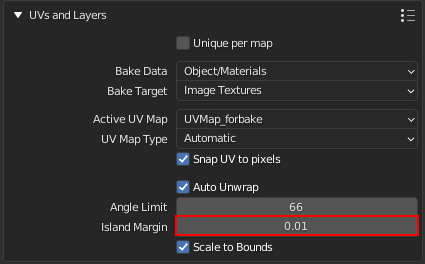
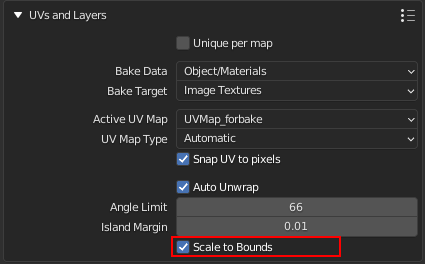
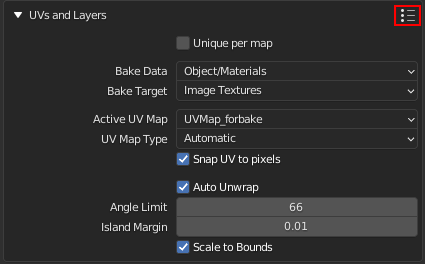
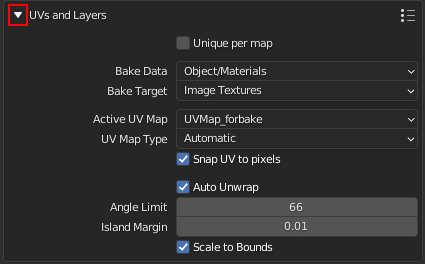
UVs and Layers
Configure crucial UV and other settings for the object like bake to Image Textures or Vertex Colors.


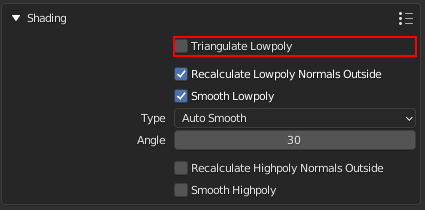
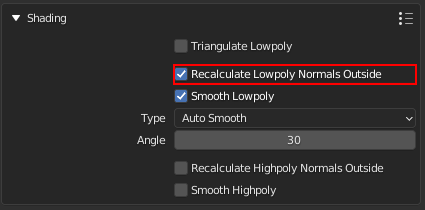
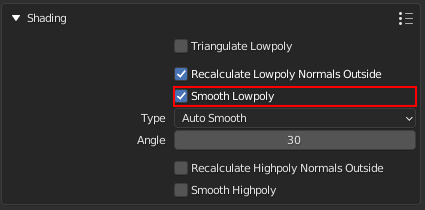
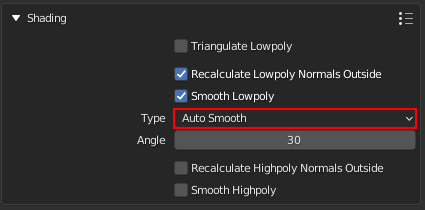
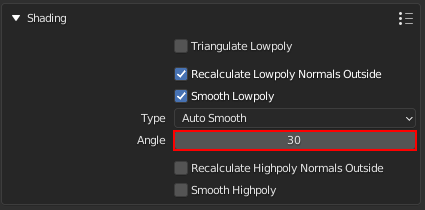
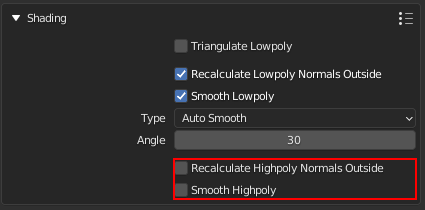
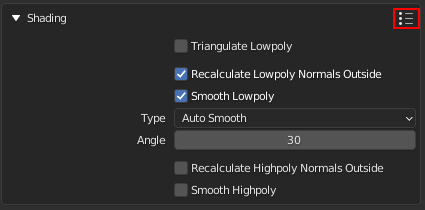
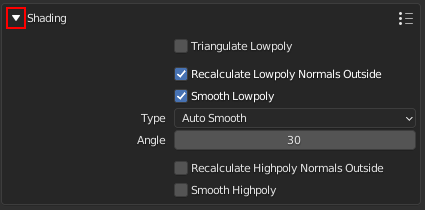
Shading Correction
Let BakeMaster save you time with important mesh normals and shading correction that can decrease the number of projection glitches when baking from highpoly.
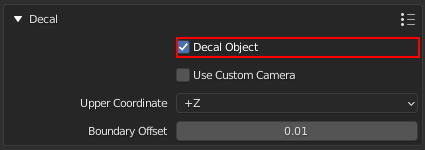
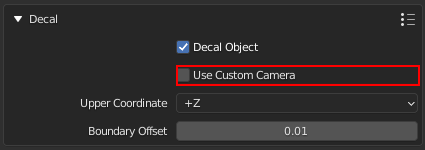
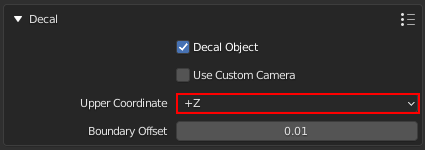
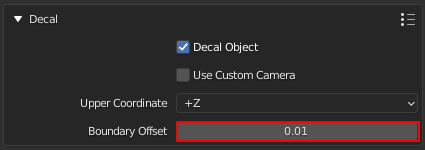
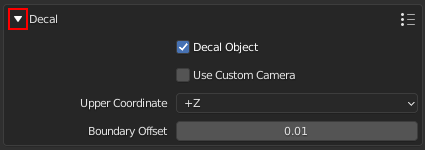
Decal Object
When baking decals separately, configure Decal Object baking.

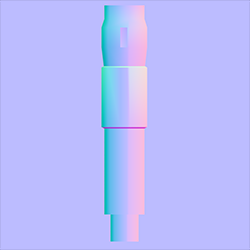
Decal bake,
Normal Pass
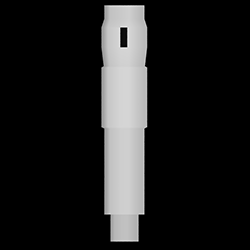
Decal bake,
Height pass
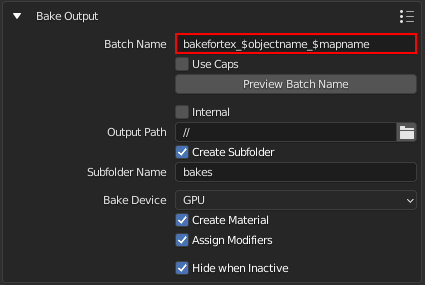
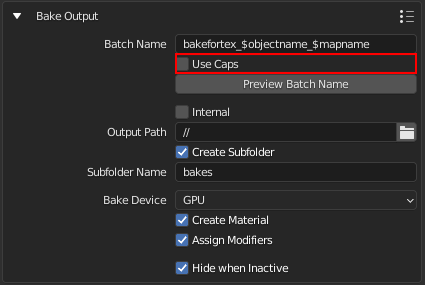
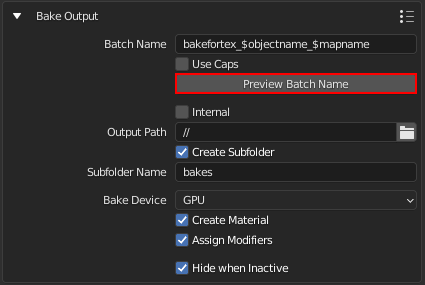
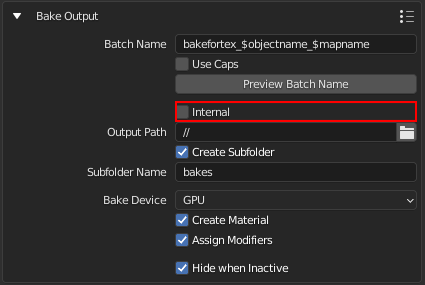
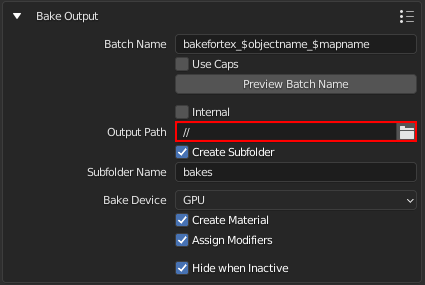
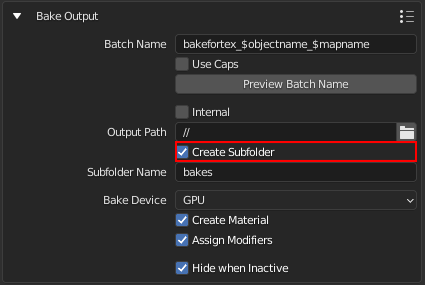
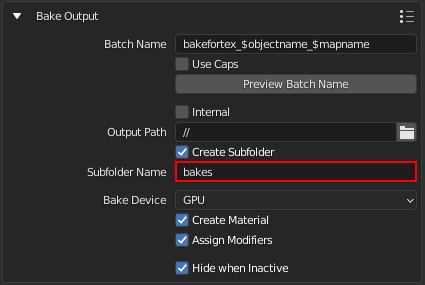
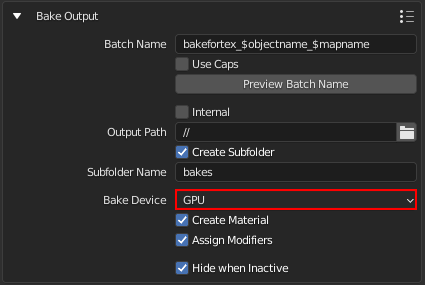
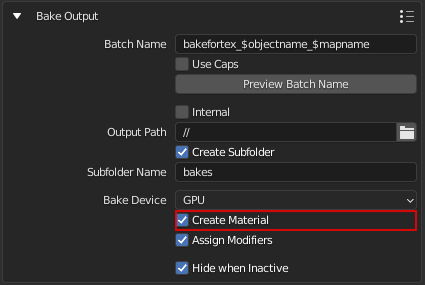
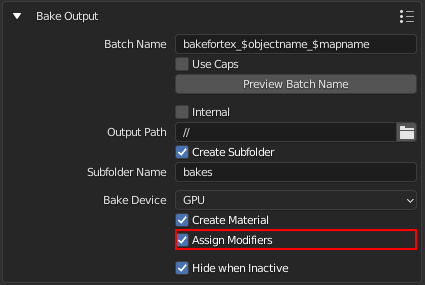
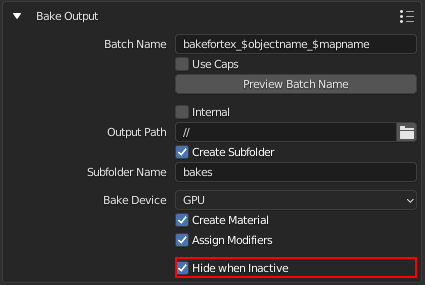
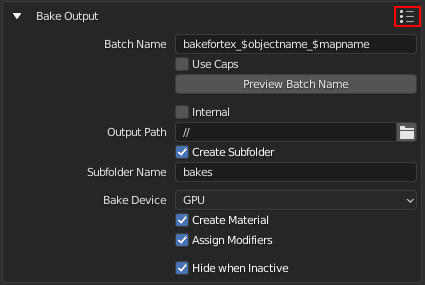
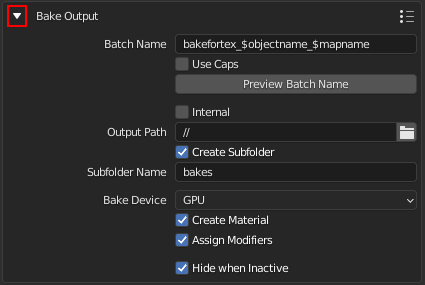
Bake Output
Specify how you want to output the baked result.