Get Best Results
Baking from highpoly
Texture baking often includes transferring high-resolution mesh details to a low-res model. Models with loads of geometry require more computer power, and details sometimes aren’t even noticed in the final production. On the other hand, lowpoly model is easier to handle, and you can bake high-resolution details onto it.
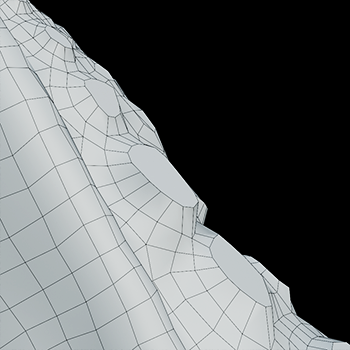
Lowpoly Geometry

Highpoly Geometry

Rendered Lowpoly,
baked textures

Rendered Highpoly,
took 60% more time
Read more about how you can set up High to Lowpoly bake in BakeMaster.
Understanding Cages
A Cage is an inflated copy of your base lowpoly model. When baking highpoly details onto a low-res mesh, a Cage limits the distance of shot detail-capturing projection rays.
The Cage should expand far enough to cover all highpoly geometry for best results. Expanding the Cage too far may cause glitches as projection might intersect other meshes in the scene.
Cage not fully covering
highpoly and lowpoly

Cage is correct,
no issues
In BakeMaster, you can choose a Cage object you created or specify the Extrusion value to inflate the lowpoly.
Decrease Baking time
Map resolution
When choosing a higher map resolution, consider whether it’d be noticeable in the output rendered image, estimate the distance from the camera to that specific model, its relative size in the render, and how many details would be distinguished.
What’s the best sample count
Baking time also increases when setting the sample count very high. It’ll result in cleaner and smoother bakes, but you can keep them pretty low and use Denoising later.
AO fragment, how long the bake took:
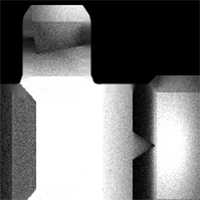
8 samples, 4k,
not denoised, 39s

128 samples, 4k,
not denoised, 6m48s

8 samples, 4k,
denoised, 1m13s
PBR-Metallic and PBR-Specular
PBR stands for physically based rendering workflow that uses enhanced lightning and shading techniques to make textured models more realistic and believable. Because all the data isn’t in a single image, it reproduces light bounces, reflections, and other microsurface details more accurately. And with global illumination and indirect light sources, it enhances the realism of the scene.
There’re two PBR workflows existing: PBR-Metallic and PBR-Specular.
PBR-Metallic
The most used type of PBR texturing is PBR-Metallic, and a wide range of software supports it. PBRM consists of Albedo, Metalness, and Roughness maps.
Albedo holds color data without any light or shadow impact, just the color itself.
Metalness map is a grayscale image describing which parts of a model are metal and which are not.
Roughness is also a grayscale map that carries which parts are rough and which are reflective.
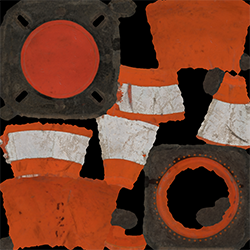
Albedo
Metalness
Roughness
PBR-Specular
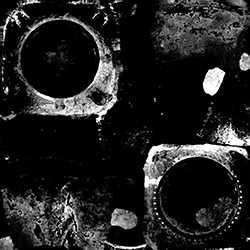
This type of workflow is used less widely but is excellent for its ability to represent reflectiveness more precisely. It uses Diffuse, Specular, and Glossiness maps.
Similarly to the PBR-Metallic, the Diffuse map stores only color data, without any light or shadow impact, but metallic parts of the model are black on this map, as they have no diffuse color.
Specular map determines the color of specular reflections, metallic parts of a model are vibrant and colorful, while non-metallic are grey (
Hex#383838).Glossiness map is an inverted copy of the Roughness map explained previously. It describes glossy and rough parts of a model.
Diffuse

Specular

Glossiness
The workaround with BakeMaster
Read how you can bake maps of both workflows in BakeMaster.
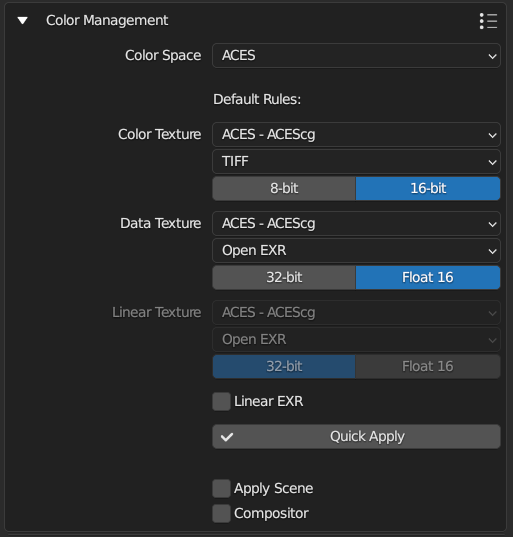
Color Management
Configuring the color management of your bakes is essential to ensure that your textures have the desired color scheme. Color management is indispensable to keep in mind if you create maps for professional or commercial purposes, as color accuracy can be crucial in these contexts. By accessing the Output panel and expanding the Color Management section, you can easily modify the color settings to achieve the desired results.
See also
Color Management and Image Color Spaces in Blender Manual.
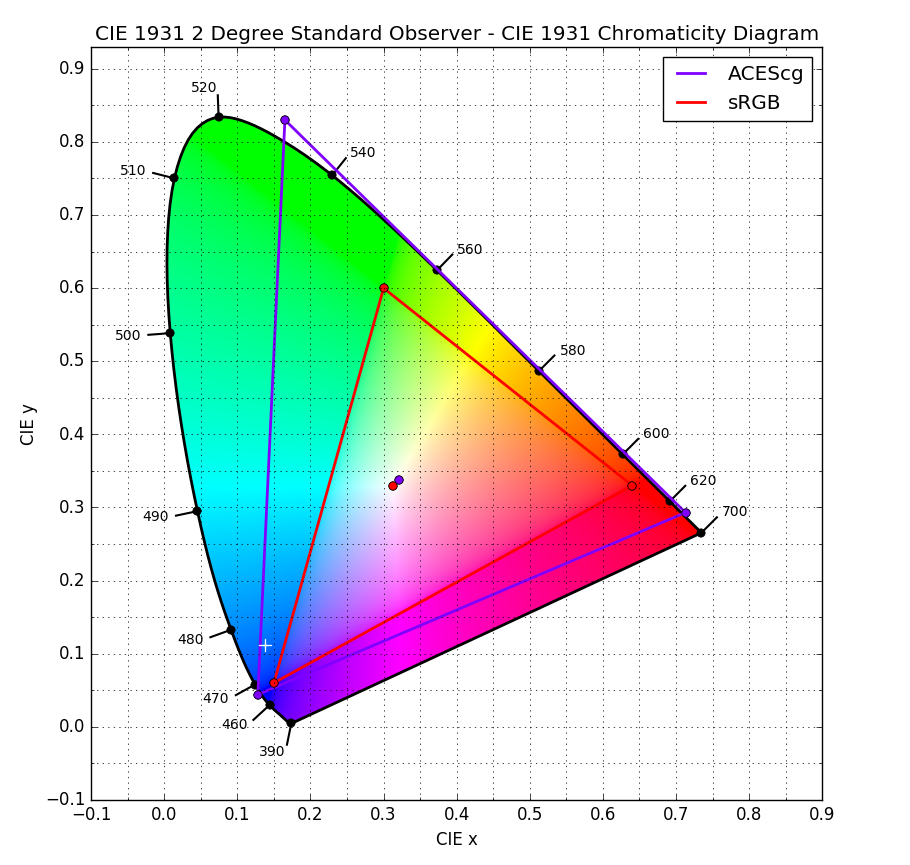
Color Spaces
In order for textures to shade models in a correct and realistic way, their color spaces have to be set up right. This will ensure the data (like color or surface information) is properly read from images and doesn’t break further pipelines.
Attention
It’s worth noting that BakeMaster officially supports the following color spaces, including:
sRGB
ACES
XYZ
If you opt to use a different color space, you can still bake, but please bear in mind that you may not have the same level of customization as with the three options mentioned above.

The name of the color space used in your scene will appear at the panel's top
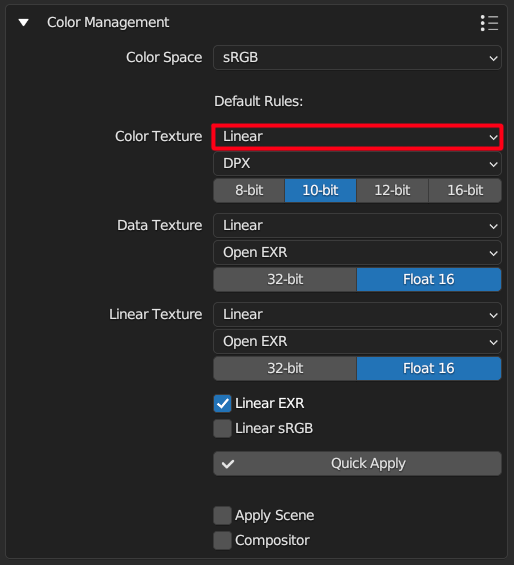
Texture Types
When it comes to customization, there are three texture types to consider: color texture, data texture, and linear texture.
- Color Texture
Includes baked color textures with color data such as Diffuse, Albedo, Base Color, ColorIDs maps, etc.
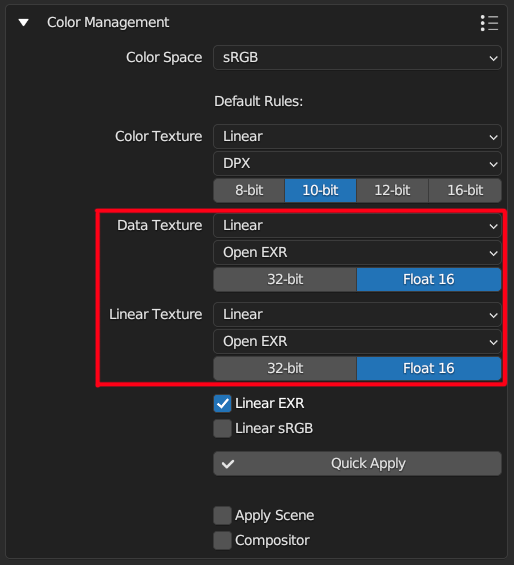
- Data Texture
Refers to baked textures with non-color data such as Normal, Metalness, Roughness, Displacement, AO maps, etc.
- Linear Texture
For textures with linear color data and is used for EXR file formats if
Linear EXRis checked.
The table below shows the texture category each Map type goes to:
Color Texture |
Data Texture |
Linear Texture |
AlbedoM |
Metalness |
(All from Data Texture if |
AlbedoS |
Roughness |
|
Emission/Lightmap |
Specular |
|
BSDF Pass (depends on type) |
Glossiness |
|
Combined |
Opacity |
|
Emit |
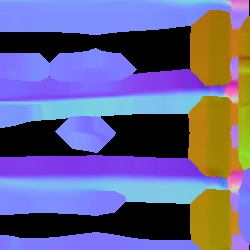
Normal |
|
Diffuse |
Displacement |
|
Specular (Albedo-Specular) |
Vector Displacement |
|
Environment |
Position |
|
Decal Pass |
||
AO |
||
Cavity |
||
Curvature |
||
Thickness |
||
ID |
||
Mask |
||
XYZ Mask |
||
Gradient Mask |
||
Edge Mask |
||
Wireframe Mask |
||
BSDF Pass (depends on type) |
||
VertexColor Layer |
||
Ambient Occlusion |
||
Shadow |
||
Normal |
||
UV |
||
Roughness |
||
Glossy |
||
Transmission |
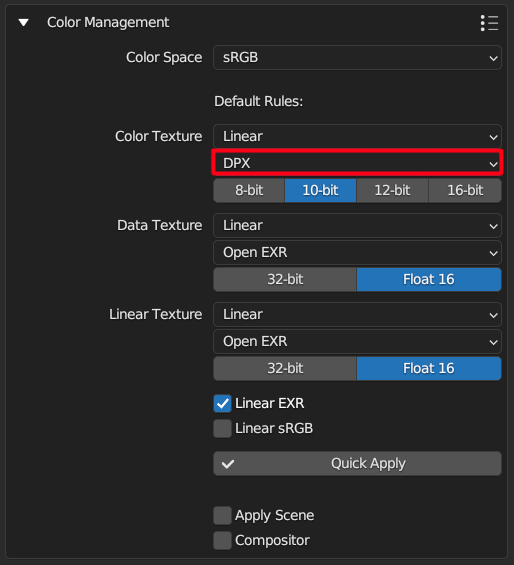
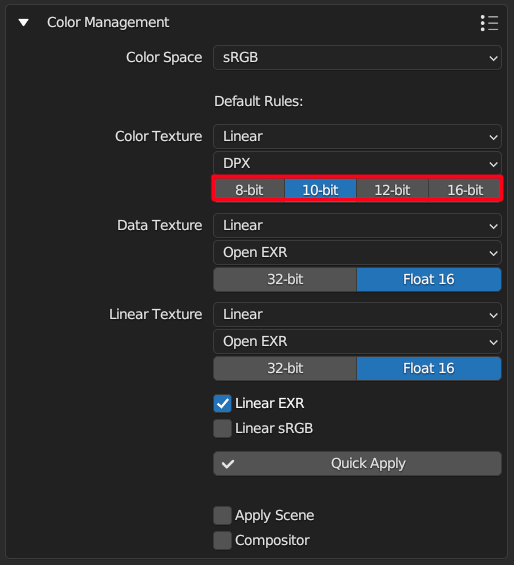
Configuration
Color Space, File Format, and Bit Depth.Caution
Be careful when making changes and ensure that you have a good understanding of the subject matter before proceeding.


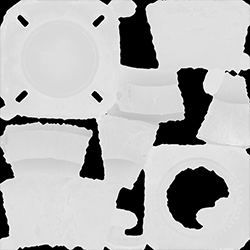
sRGB
sRGB is Blender’s default Display Device and the most wide-spread elsewhere currently. The images you view on the internet and textures you download are highly likely to be in that space.
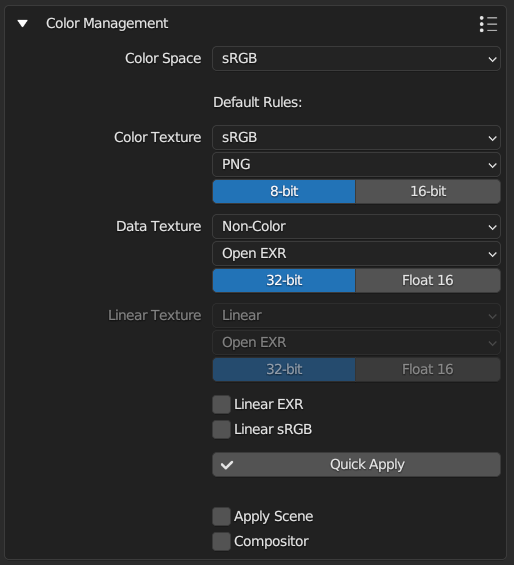
For sRGB color space, it is recommended to stick to sRGB for Color Texture and Non-color for Data Texture. This ensures that color textures are saved and displayed to match how end user sees them on screen; and non-color data textures are treated as is with no color transformation to properly provide mesh or other information.
sRGB Color Texture

Non-color Data Texture
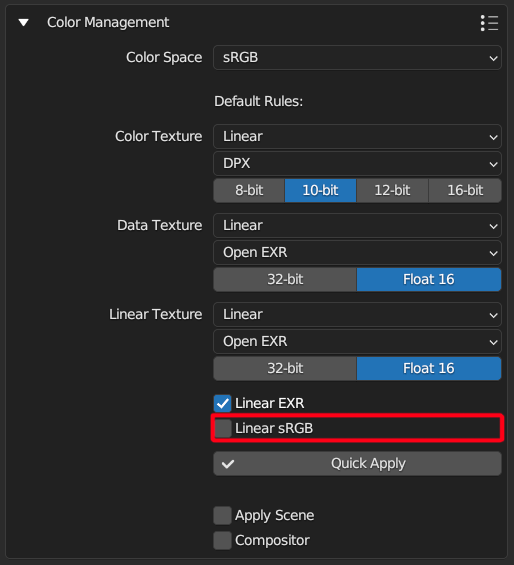
Advanced - Linear sRGB
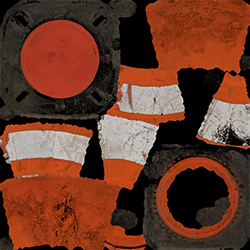
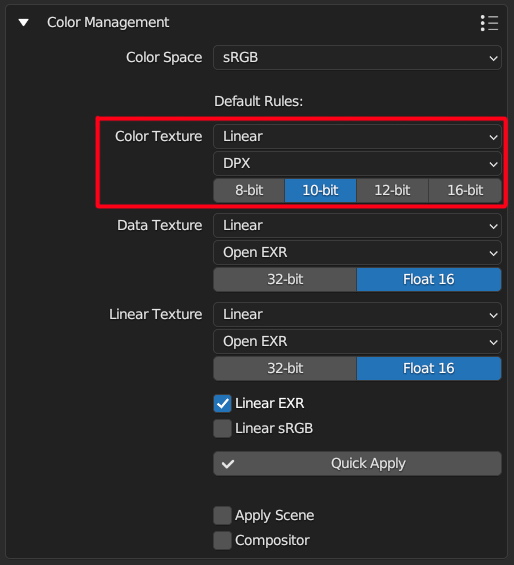
This isn’t a very popular format, but sRGB can be also linearized. This means sRGB textures won’t have gamma correction applied.
By enabling this option and choosing a preferable Linear color space for Color Texture or Data Texture, baked textures will look as if they were in Linear, not sRGB color space:
Linear sRGB unchecked
Good to view on your monitor

Linear sRGB
No gamma correction
ACES
The Academy Color Encoding System (ACES) is a standardized and comprehensive color management tool that simplifies the process of managing colors during production. It is designed to handle various input sources such as film and computer graphics, and it guarantees consistency and reliability throughout the production process. When images are converted to the ACES standard, teams can work together seamlessly, regardless of the source of the images, and attain consistent and predictable color results. The ACES system provides a dependable workspace for artists, who can now concentrate on their creative work without worrying about technical issues or color inconsistencies.
This documentation does not cover all the aspects and principles of ACES. Instead, it offers a practical approach to setting up BakeMaster for texture baking in the ACES color space. This way, you can avoid going round in circles and achieve your desired results efficiently.
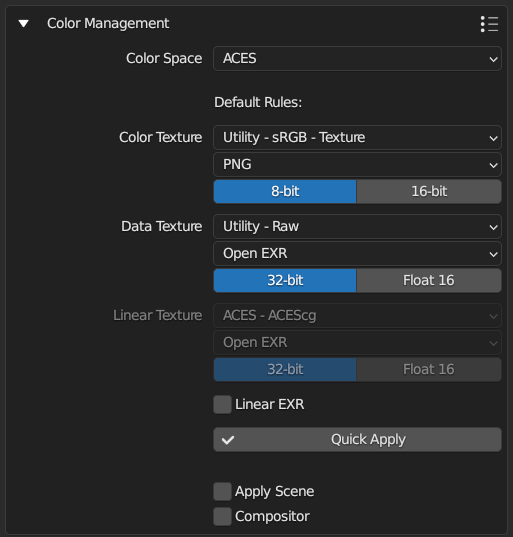
BakeMaster and ACES
By default, ACES is set up in BakeMaster to bake Color Textures in sRGB and Data Textures in Raw:
Color Texture ->
Utility - sRGB - TextureData Texture ->
Utility - Raw
If you yearn for getting the most out of ACES, switch Color Texture’s color space to ACES - ACEScg. As a result, color textures will be linear, and the baked data from Blender is stored directly (apart from ACES - ACES2065 -> ACES - ACEScg conversion. ACES2065 is primarily used for archiving and interchange, whereas ACEScg is intended to be used for CG, rendering and compositing).
To bake ACES-compliant textures in ACEScg IDT/ODT, make the following changes:
Color Texture:
ACES - ACEScgcolor space,16-bitbit depth,EXRorTIFFfile format.Data Texture:
Utility - Rawcolor space, half-floatFloat 16bit depth,EXRfile format.
Default ACES config
sRGB Color Texture,
Raw (Linear) Data Texture
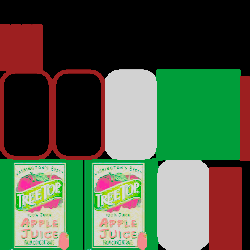
ACES-compliant ACEScg config
16-bit Linear Color Texture,
half-float floating 16-bit ACEScg Data Texture
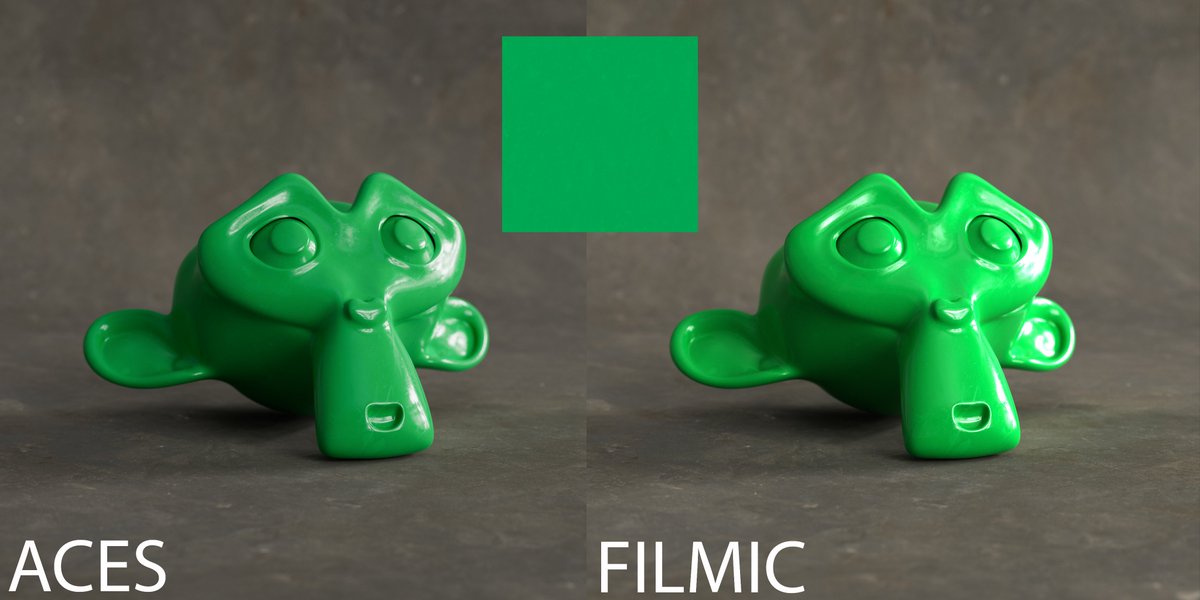
Scene’s and Compositor’s effect
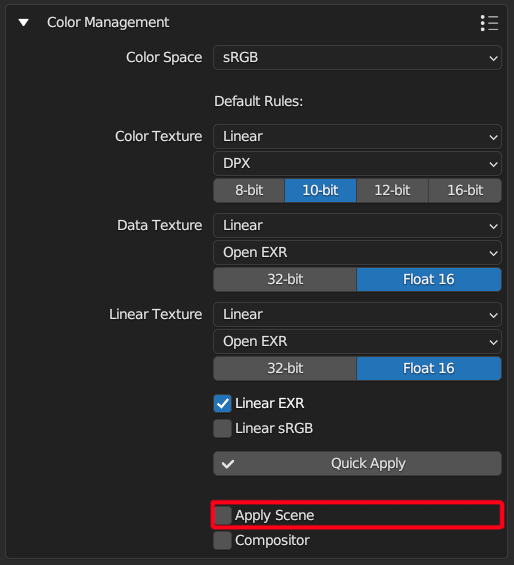
Scene Color Management
If you want your scene color management settings to be applied to bakes, Apply Scene is the way. By turning it on, you can, for example, add Filmic view transform to baked textures if the scene has got one and other settings like Exposure, Gamma, Curves configured in the Properties -> Color Management.
Apply Scene unchecked
No effect
Apply Scene checked
Filmic View Transform, 0.9 Exposure
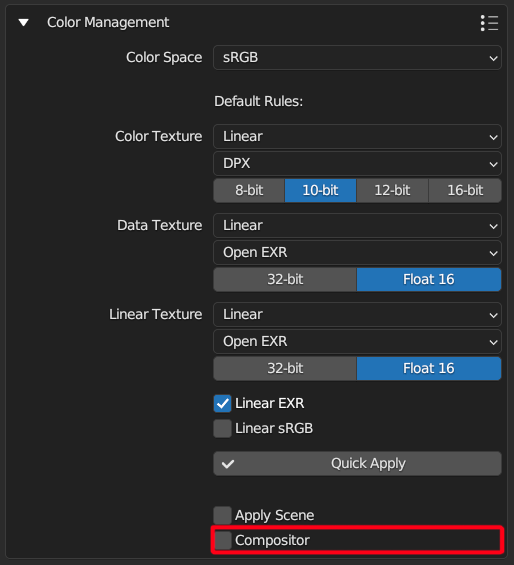
Compositor Nodes
Ticking Compositor will run bakes through compositor nodes. This is helpful when you’ve got additional color management set up in compositor (e.g. custom color adjustments, etc.) and want it to affect baked images.
In Short
Default Rules
Use to set default Color Space, File Format, and Bit Depth for baked images. You’re most likely to tweak the last two. Be careful when changing the color space.
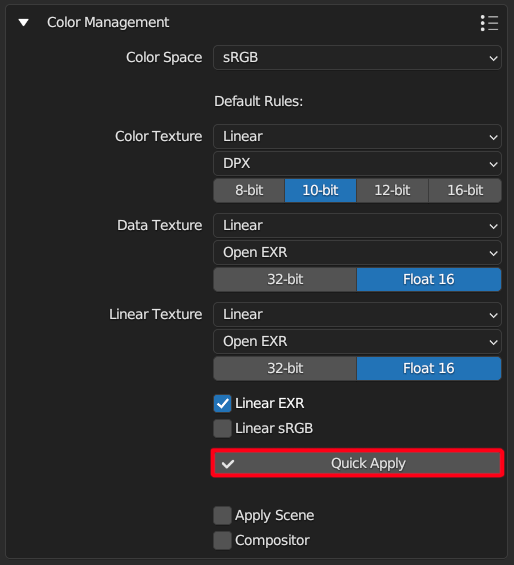
Apply Settings
Quick Apply button.Apply Scene or/and Compositor
Apply Scene to apply View Transform, Exposure, Gamma, and Curves to your bakes.Compositor to make BakeMaster run textures through color management in compositor nodes.View Image Color Space
View image color space in the Image/UV Editor:
Select an image
Hit
Non your keyboard to open propertiesOpen
ImagetabLook at the
Color Spaceproperty under the filepath.
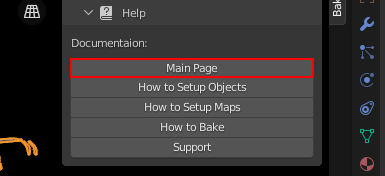
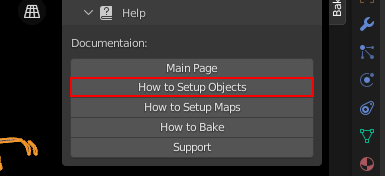
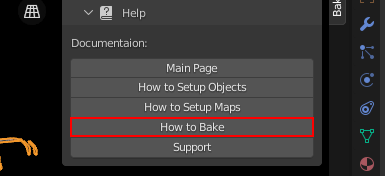
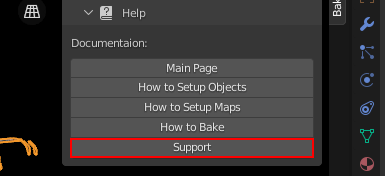
Help system
The Help panel offers a couple of buttons that will take you to the corresponding pages of BakeMaster’s online documentation you’re currently reading.