Get Best Results#
Baking from highpoly#
Texture baking often includes transferring high-resolution mesh details to a low-res model. Models with loads of geometry require more computer power, and details sometimes aren’t even noticed in the final production. On the other hand, lowpoly model is easier to handle, and you can bake high-resolution details onto it.
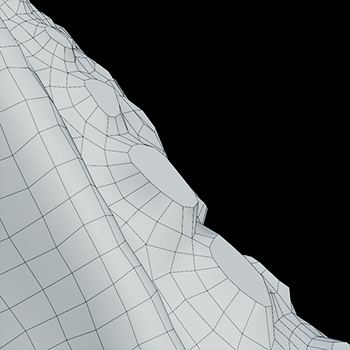
Lowpoly Geometry
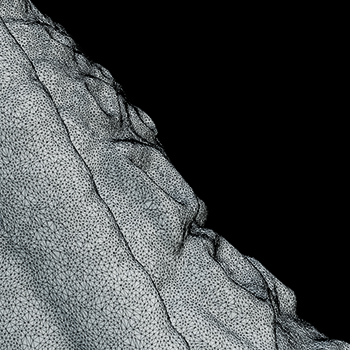
Highpoly Geometry
Rendered Lowpoly,
baked textures

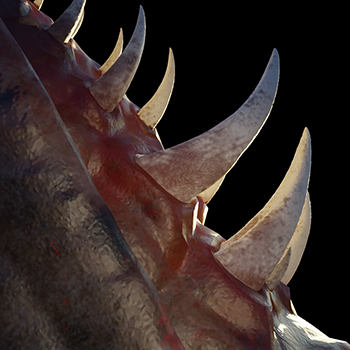
Rendered Highpoly,
took 60% more time
Read more about how you can set up High to Lowpoly bake in BakeMaster.
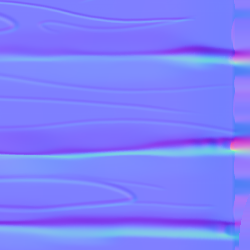
Understanding Cages#
A Cage is an inflated copy of your base lowpoly model. When baking highpoly details onto a low-res mesh, a Cage limits the distance of shot detail-capturing projection rays.
The Cage should expand far enough to cover all highpoly geometry for best results. Expanding the Cage too far may cause glitches as projection might intersect other meshes in the scene.

Cage not fully covering
highpoly and lowpoly
Cage is correct,
no issues
In BakeMaster, you can choose a Cage object you created or specify the Extrusion value to inflate the lowpoly.
Decrease Baking time#
Map resolution#
When choosing a higher map resolution, consider whether it’d be noticeable in the output rendered image, estimate the distance from the camera to that specific model, its relative size in the render, and how many details would be distinguished.
What’s the best sample count#
Baking time also increases when setting the sample count very high. It’ll result in cleaner and smoother bakes, but you can keep them pretty low and use Denoising later.
AO fragment, how long the bake took:
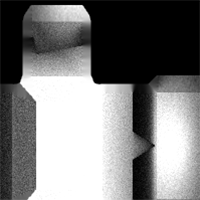
8 samples, 4k,
not denoised, 39s

128 samples, 4k,
not denoised, 6m48s
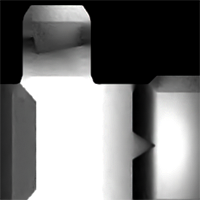
8 samples, 4k,
denoised, 1m13s
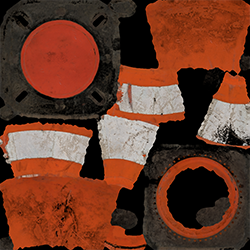
PBR-Metallic and PBR-Specular#
PBR stands for physically based rendering workflow that uses enhanced lightning and shading techniques to make textured models more realistic and believable. Because all the data isn’t in a single image, it reproduces light bounces, reflections, and other microsurface details more accurately. And with global illumination and indirect light sources, it enhances the realism of the scene.
There’re two PBR workflows existing: PBR-Metallic and PBR-Specular.
PBR-Metallic#
The most used type of PBR texturing is PBR-Metallic, and a wide range of software supports it. PBRM consists of Albedo, Metalness, and Roughness maps.
Albedo holds color data without any light or shadow impact, just the color itself.
Metalness map is a grayscale image describing which parts of a model are metal and which are not.
Roughness is also a grayscale map that carries which parts are rough and which are reflective.
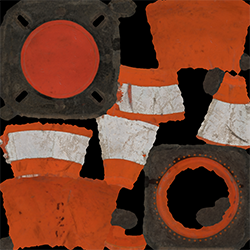
Albedo
Metalness
Roughness
PBR-Specular#
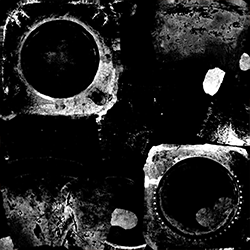
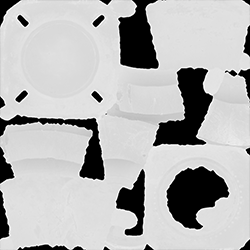
This type of workflow is used less widely but is excellent for its ability to represent reflectiveness more precisely. It uses Diffuse, Specular, and Glossiness maps.
Similarly to the PBR-Metallic, the Diffuse map stores only color data, without any light or shadow impact, but metallic parts of the model are black on this map, as they have no diffuse color.
Specular map determines the color of specular reflections, metallic parts of a model are vibrant and colorful, while non-metallic are grey (
Hex#383838).Glossiness map is an inverted copy of the Roughness map explained previously. It describes glossy and rough parts of a model.
Diffuse
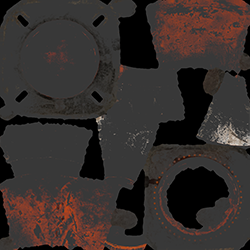
Specular
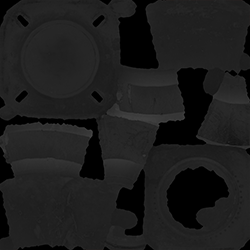
Glossiness
The workaround with BakeMaster#
Read how you can bake maps of both workflows in BakeMaster.
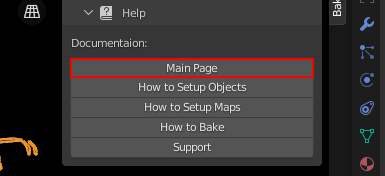
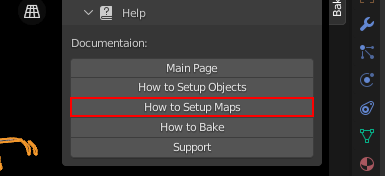
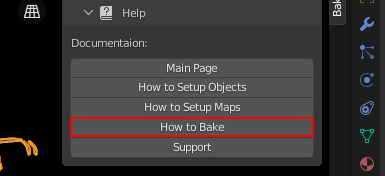
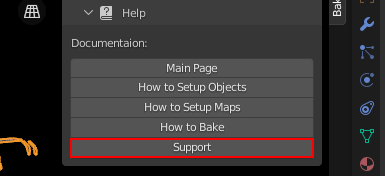
Help system#
The Help panel offers a couple of buttons that will take you to the corresponding pages of BakeMaster’s online documentation you’re currently reading.